Build a Swahili Conversational AI with Sarufi
Understand how to build a Swahili conversation Chatbot with Sarufi API.


This article is a follow-up to my first essay about the Sarufi API; if you missed it, don't worry; just take the time to read it before moving on to this one.
Awesome! To create our Swahili conversational AI bot and test it in a live setting that can be shared with others, we will use the Sarufi API.
Let's jump right in, After creating an account on the sarufi.io page it's time to start coding 😎.
We'll be working in a Python environment to create our Swahili conversation bot, so after installing the Sarufi package, it's time to keep things going. You may do this on the terminal, Vscode, a Jupyter Notebook, Google Colab, or any other environment where you can execute Python code.
We should import Sarufi module from sarufi , this will allow us to access all the scripts from the sarufi package.
# import Sarufi
from sarufi import Sarufi
Then, let's access all functionalities of sarufi by using our credentials we can consider instantiating sarufi by creating an object with a name srf.
# instatiate sarufi
srf = Sarufi(api_key='your API KEY')
Now we have srf which can be used to create bots and perform other functionalities such as listing all bots, and deleting a specific bot.
# functionalities
srf.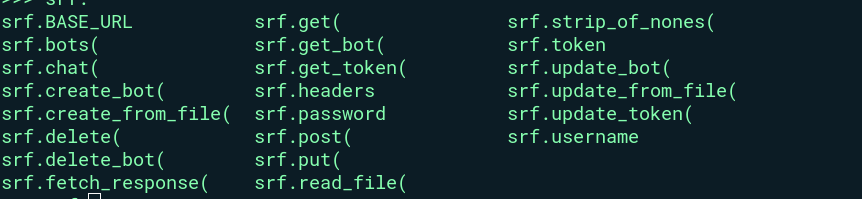
Visit our documentation to gain a better understanding of each function.

Then we can create our first bot with create_bot function, passing the bot name and the descriptions about the bot we want to create.
# create bot
srf.create_bot(name="Loss Report Bot", description="A conversational chatbot for automating the process of registering lost property")
After we will receive the successful message together with the bot name and id.
Now we have the bot, it is time to train it on how to communicate using the Swahili language. Here we should define and add two things, training data that we will use to teach our bot how to respond per specific case. The training data should be grouped into two parts first examples of questions(intents) and another with examples of answers(flow).

Let's define and add the flow of our bot first. Using add_flow the function we can define the name of the state of each flow we want to include followed by messages and the next state after the current state.
# creating flow
lrbot.add_flow({"greeting": {"message": ["Habari yako, naitwa Hamadi msaidiz wako katika usajiri wa mali iliyopotea"], "next_state": "end"}})
We have defined our flow with the name greeting and added the message as a response. Next, let's define the intents associated with greeting the flow. Here we should define and add examples of what words are more like to be used for greeting.
lrbot.add_intent({"greeting": ["Hi","Hey","Hello","Mambo","Habari","Za asubuhi","Za wakati", "Hujambo"]})Can we try if our bot can understand what we have initiated before? Absolutely yes let's go ahead and start a conversation.
# initiate conversation
lrbot.respond("mambo")

```
	{'message': ['Habari yako, naitwa Hamadi msaidiz wako katika usajiri wa mali iliyopotea']}

```
Now we have the whole idea of what to do and why let's go ahead and package this as a project into files that will make it easier to develop our chatbot and save time.
Creating Chatbot from Files
Sarufi-Python-SDK allows you to create a chatbot from a file. where you can define your intents, utterances, and responses separately.
You can either use YAML or JSON format to define your chatbot. Let's create our project directory and use YAML files to define example data.
# create project directory
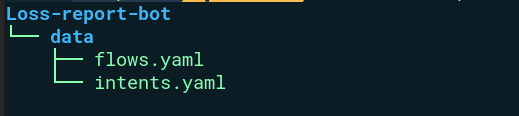
mkdir Loss-report-botInside our project directory, Loss-report-bit we can add another directory with the namedata that will be used to store our intents(intents. yaml) and flows(flows. yaml) in yaml formats.
All of the data to train our bot will be stored in yaml files. Starting with sample questions that a user can ask which will be defined on the intents.yaml file
greetings:
  - Habari
  - Mambo
  - Mambo zako
  - za kwako
  - U hali gani
  - Niaje
  - Za mchane
  - Za asubuhi

ndio:
  - ndio
  - sawa

hapana:
  - hapana
  - sitaki

thanks:
  - Asante
  - Asante sana
  - ubarikiwe sana

goodbye:
  - kwaheri
  - badae
  - baadae
Now, it's time to define our dialog also as a YAML file defined as flows.yaml. here is a sample file
# greetings: state
greetings:
  message:
    - Habari yako, naitwa Hadmady,
    - Msaidizi wako katika kutoa taarifa za usajili wa mali iliyopotea.
    - Je unahitaji kufanya usajili wa mali yako?
  type: text
  next_state: end

# state: Yes
ndio:
  message:
    - Karibu ndugu,
    - Tunaanza na usajili wa taarifa binafsi
    - Unaitwa nani(majina kamili)?
    - "Mfano: Sammy Hosea"
  type: text
  next_state: gender

# state: gender
gender:
  message:
    - Jinsia Yako?
    - Mfano Me/Ke
  type: text
next_state: hali_ya_ndoaNow we have all the required data to train our chatbot. What is missing then 😎?
Yes! you are right if you said a simple script to push all of these files to the Sarufi engine. Then, we can add a new file with the name train.py and write all the Python scripts to push defined flows and intents to the Sarufi engine.
Here is the new structure of our project...
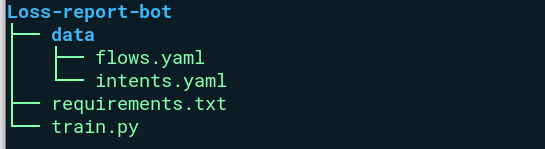
In the train.py the file we should do the following tasks:-
- Import Sarufi
- Authenticate with Sarufi
- Add a function to update the chatbot since we have created it, if you opt for this path from the beginning of your project you can consider adding a function to create a chatbot.
- Run script
Let's import Sarufi and define the authentication process
# import sarufi
from sarufi import Sarufi

# initialize the Sarufi object
sarufi = Sarufi(api_key='your API KEY')
Then, adding a function to perform updates to the Sarufi engine simply because we have created our chatbot as Loss Report Bot.
Then, just because we designed our chatbot as a loss report bot, let's add a function with the capability to carry out updates to the Sarufi engine by using the chatbot id.
def update_bot(bot_id: int):
    """
        function to update Loss Report chatbot
    """
    return sarufi.update_bot(
        id=bot_id,
        intents=safe_load(open("data/intents.yaml")),
        flow=safe_load(open("data/flows.yaml")),
)Now we have set all the requirements, we can run our script.
!python3 train.py

"""
    2022-10-12 08:53:19,097 - root - INFO - Getting token
    2022-10-12 08:53:20,399 - root - INFO - Updating bot
    Bot(id=51, name=Loss Report Bot)
"""
What will come next? Congratulations! It's now time to appreciate what you've created.
Test and Share your Chatbot
Thank you for reading this post all the way to the finish. Now it's time to show off and test what we've been working on.
In order to speed up the testing and sharing of the chatbot, we have connected the Sarufi engine with the developer community portal. Our bot to automate the process of filing loss reports is currently available on the sarufi playground webpage.
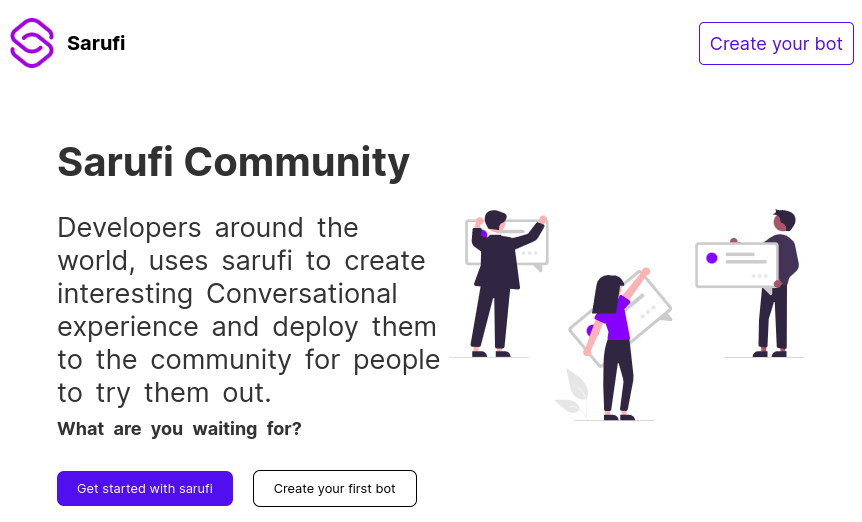
Sarufi Playground is the platform where you get to experience the interaction of the chatbot you built and other forks' work. Then you can share with a colleague to try out the chatbot you built.
You can access the article's complete source code from the GitHub repository.