Here is how to train Chatbot with PHP SDK using Files

Hello there, Let's continue from our last article (Here is how you can train your chatbot with Sarufi PHP SDK) where we discussed Arrays as a way of training.
In this article, we will learn how to train our sarufi chatbot using JSON files.
Some advantages of training a chatbot using JSON files are
- Allow a large amount of words to be used to train a chatbot. While using an Array to train a chatbot, one can write so many more values embedded in the code. So, a neat way to write these arrays is inside a JSON file.
- Modularity, separating files by purpose, will allow structure and ease of working
These are the significant advantages of using JSON files to train a chatbot. Check our playground to get a glimpse of chatbot capabilities.
Now, from our last article, let's call that repository into another folder to upgrade it, so we can use JSON files instead of arrays.
Let's address the structure of these JSON files that are used to represent our training data. There are three files namely Metadata, Flow and Intent
- Metadata file: This file is used by sarufi AI for identification of the chatbot intended. It contains Description, Name, chatbot ID and other details. This file must exist for a successful training of chatbot.
- Intent file: This file describes goal/ goals a user have during the interactions with the chatbot. These goals can range from ordering food to booking bus tickets or reservations
- Flow file: This file contains flow information, which acts like a graph that directs the chatbot during dialogue, this means the goal of dialog derived from the intent file is properly arranged and sent to the user under supervision provided by the flow file.
A few methods inside the PHP SDK can be used to greatly simplify the task of reading data to the chatbot
- readFile(): This method can read .PHP, .json, and .yaml files and return the data stream of the data inside the file. Inside a PHP file, we can write our data as an Array.
- createFromFile(): This method can create a chatbot from a file that specifies the parameters for the specific chatbot
- updateFromFile(): This method is used to update an existing chatbot with new insights
We are focusing on updating our Yakwetu chatbot and go to the playground to chat with it.
To update your chatbot, you must first include all necessary files to the class. Here we include Sarufi from the configuration and Sarufi from PHP SDK. These files are vital to the Training class
use Config\Sarufi as confSarufi;
use Alphaolomi\Sarufi\Sarufi as Sarufi;
The included two files are one from the configuration that holds our chatbot ID and our private key, and the second file is the Library that holds these methods that we are learning in this article. Inside Training class
$this->Sarufi = new Sarufi(confSarufi::$apiKey);With the above line of code, we instantiate our Sarufi class ready to be used. Notice how the secret key was passed, it is done that way since the secret key and bot ID are static variables, so you can just reference them. So we have all that we need, namely our chatbot has been verified by running that line above and all methods from Sarufi PHP SDK.
Prepare your data and separate it into three files, the Manifest file, the Flow file, and the Intent file. We are going to use JSON format. Put these files in the public folder of your server.
{
  "name": "SuperHero Skin Care",
  "description": "Metro City Best Cosmetics Shop",
  "industry": "Beauty",
  "visible_on_community": "yes",
  "language": "swahili",
}
Use this format for all these three files. Remember to create a chatbot the metadata file is compulsory, and the other two are optional. For the purpose of updating a chatbot, a metadata file is still important with few details, and you must add a lot more context in the intent file and redefine or update the flow of your chatbot to make it more effective.
Back to our Training class, we are going to implement the trainWithFile method where we are calling the updateFromFile method on a file.
public function trainWithFile(
						string $intentFile,
                        string $flowFile,
                        string $metadataFile
                        )
{
        try {
            $result = $this->Sarufi->updateFromFile(confSarufi::$botId ,$intentFile ,$flowFile ,$metadataFile,);

            // on succes
            return $result;

        } catch (\Throwable $th) {
            throw $th;
        }
    }
So far we have done a great job. Now we need to call trainingWithFile method in our index file to allow our script to train our chatbot. Here is our index method
public function index() {
        // load in the files
        $metadata = PUBLICPATH . 'metadata.json';
        $flow = PUBLICPATH . 'flow.json';
        $intent = PUBLICPATH . 'intent.json';

        $from_training = $this->trainWithFile($intent,$flow,$metadata);
        return $this->respond($from_training);
    }
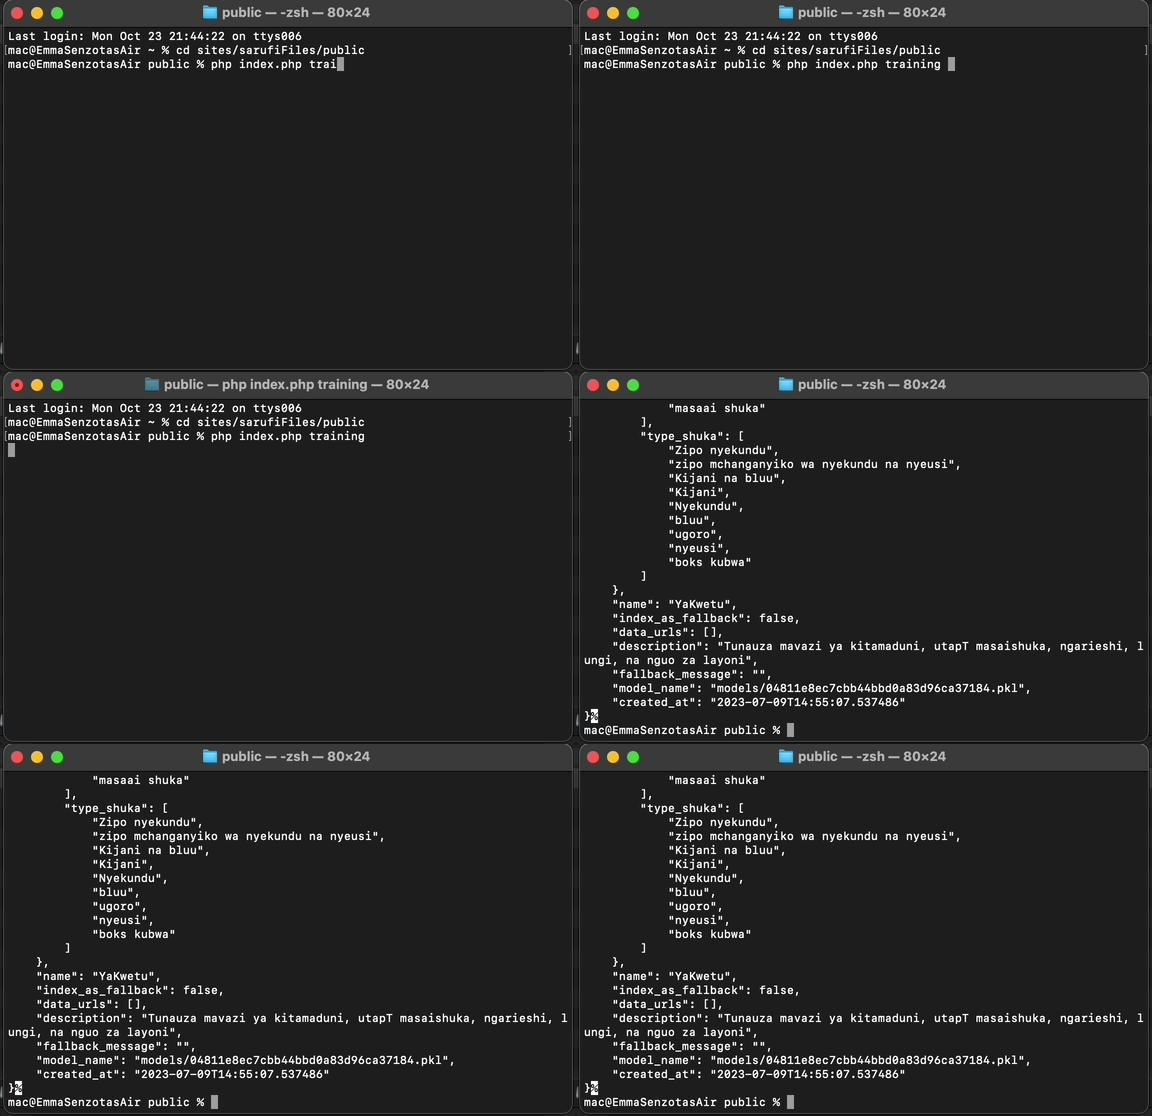
After all this work now run a command on terminal to update the training of our chatbot
php public/index.php trainingRun this command at the root of your project directory and the chatbot will be updated with new information. This is recommended every time you encounter new information that will streamline responsively of your chatbot.

Remember to review conversations of your chatbot at sarufi's dashboard to see and measure response of your chatbot. Check out this chatbot I have created at playground
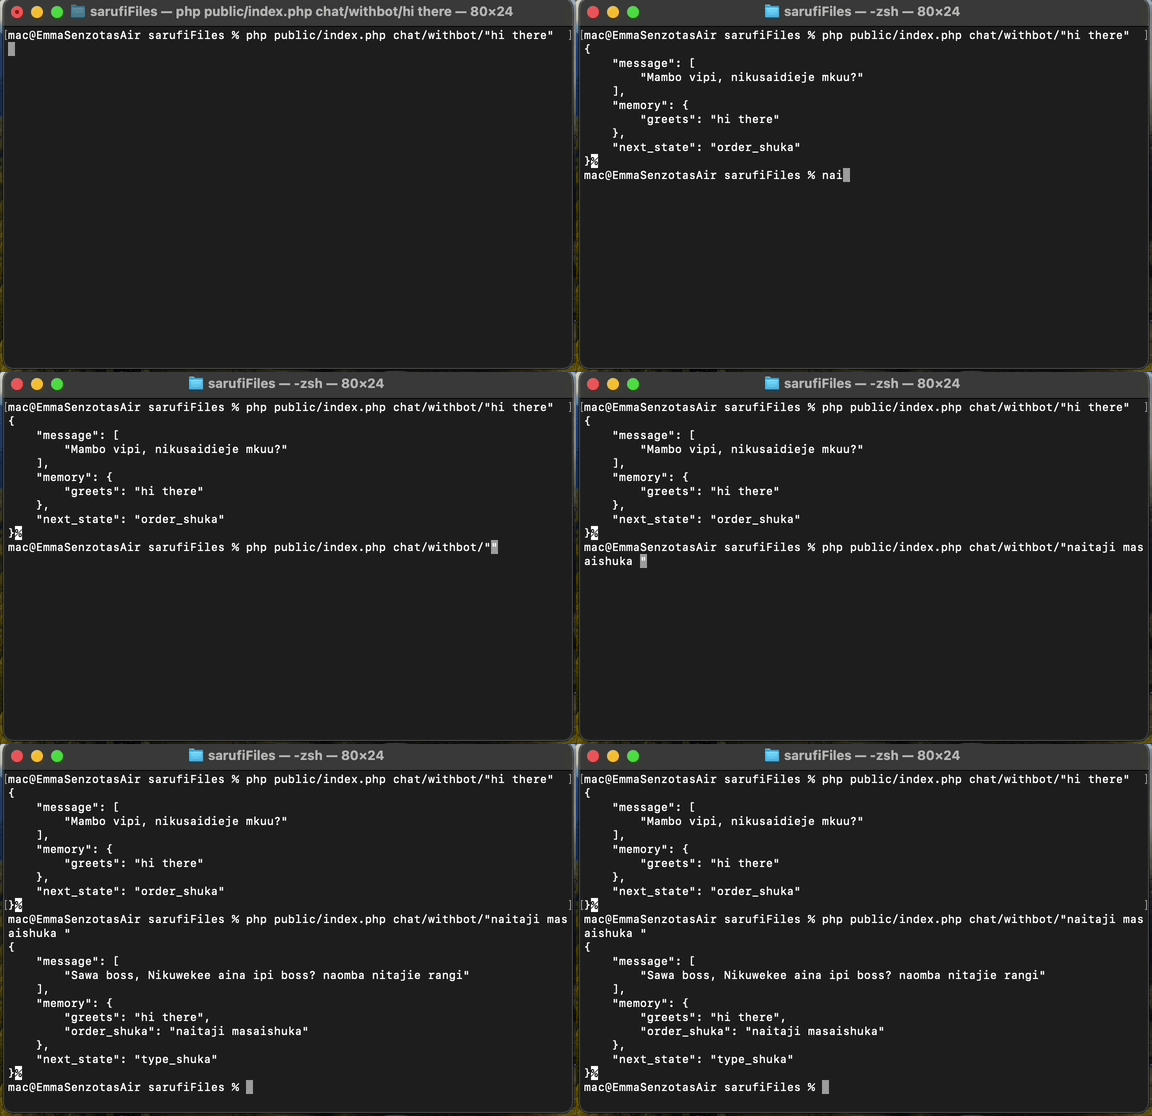
And here is how our chatbot respond to questions and requests we send to it

This has been a pleasure as always, please check my repository for code we have learned in this article. Till next time, Happy coding.