Getting started with Sarufi AI as PHP Developer.

Most of the AI work is done in Python and other languages. So seems we are at a loss as PHP developers, or are we?
We are going to learn how to integrate a simple chatbot into our web application, all this we are going to achieve using PHP. Buckle up and enjoy
Am happy to tell you that there are ways we can utilize AI tools with our favorite programming language ie. PHP. So yes we are at a similar advantage as all other programmers.
The easiest technique to utilize tools like sarufi ai is through API integration to our web projects. Let's take a look at how we can do that, so to start we will be using the simplest PHP framework to demonstrate this integration ( ie Codeigniter )
Let's start by installing codeigniter using composer
composer create-project codeigniter4/framework
Then after changing the root folder of our project into the name you like ( mine sarufi_php_website )
Go to the project folder and locate the env file then rename it into .env this helps the codeigniter to recognize this file as one holding environment variables for this specific project
Now let's add the Sarufi PHP SDK done by Alpha Olomi
composer require alphaolomi/sarufi-phpRun this command at the root of your project folder. This command will download and install the Sarufi-PHP library and its dependencies.
After that go to the terminal and change the directory to the project directory and run this command
php spark servethis will start your local web app
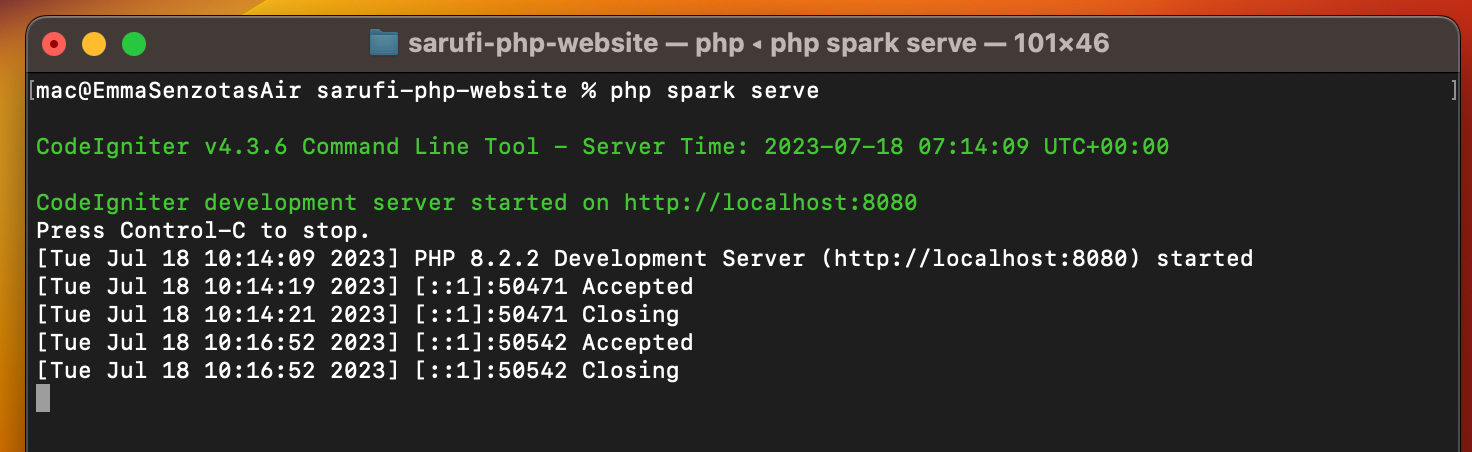
You can go to your browser and follow the link to see your website. Next step we start implementing the user interface and Sarufi API integration
So here we use a simple UI just like a chat screen with a field to write your message and a button to send your message.
So what have I done to get sarufi talking to my PHP website,
I wrote a simple interface for communication with the chatbot using HTML and CSS. Then I quickly wrote javascript code to send and receive messages between UI and server. Check the code below
<!DOCTYPE html>
<html lang="en">
<head>
    <meta charset="UTF-8">
    <meta name="viewport" content="width=device-width, initial-scale=1.0">
    <title>Yakwetu Cultures</title>
    <style>
        body {
            font-family: Arial, sans-serif;
            background-color: #f1f1f1;
            margin: 0;
            padding: 20px;
        }

        .chat-container {
            max-width: 400px;
            margin: 0 auto;
            background-color: #fff;
            border-radius: 10px;
            box-shadow: 0 0 10px rgba(0, 0, 0, 0.2);
            overflow: hidden;
        }

        .chat-header {
            background-color: #4CAF50;
            color: #fff;
            padding: 10px;
            text-align: center;
        }

        .chat-body {
            padding: 10px;
            height: 400px;
            overflow-y: scroll;
        }

        .chat-message {
            background-color: #f1f1f1;
            padding: 10px;
            border-radius: 5px;
            margin-bottom: 10px;
        }

        .user-message {
            background-color: #DCF8C6;
            align-self: flex-end;
        }

        .bot-message {
            background-color: #D5E8FF;
            align-self: flex-start;
        }

        .chat-input {
            display: flex;
            justify-content: space-between;
            align-items: center;
            padding: 10px;
            border-top: 1px solid #ccc;
        }

        .user-input {
            flex: 1;
            padding: 5px;
            border: none;
            border-radius: 5px;
        }

        .send-btn {
            background-color: #4CAF50;
            color: #fff;
            padding: 8px 15px;
            border: none;
            border-radius: 5px;
            cursor: pointer;
        }
    </style>
</head>
<body>
    <div class="chat-container">
        <div class="chat-header">
            <h2>Yakwetu Chatbot</h2>
        </div>
        <div class="chat-body" id="chatBody">
            <!-- Chat messages will be displayed here -->
        </div>
        <div class="chat-input">
            <input type="text" id="userQuery" class="user-input" placeholder="Type your message...">
            <button onclick="sendMessage()" class="send-btn">Send</button>
        </div>
    </div>

    <script>

    async  function sendMessage() {
                const userQuery = document.getElementById('userQuery').value;
                const chatBody = document.getElementById('chatBody');

                if (userQuery.trim() !== '') {
                    const userMessage = document.createElement('div');
                    userMessage.className = 'chat-message user-message';
                    userMessage.textContent = userQuery;

                    chatBody.appendChild(userMessage);

                    // AJAX request to send user query and retrieve chatbot response
                    fetch('http://localhost:8080/chat', {
                            method: 'POST',
                            headers: {
                                'Content-Type': 'application/json',
                            },
                            body: JSON.stringify(userQuery),
                    })
                    .then(async (response) => {
                        const res = response.json();
                        const innerPromise = await res.then((data) => data.actions[0].send_message);

                        // Access the array to print reply message from sarufi
                        const send_message = innerPromise;

                        const botMessage = document.createElement('div');
                        botMessage.className = 'chat-message bot-message';
                        botMessage.textContent = send_message[0];

                        chatBody.appendChild(botMessage);

                    })
                    .catch((error) => console.error('Error:', error));
                }
            }

    </script>
</body>
</html>
From here the fun begins we start writing our beloved php scripts to integrate with Sarufi, so the needed functionality is to send messages, receive messages and relay that message to the front end of our website. Sounds easy enough.
To achieve these functions we use the Guzzlehttpclient library that simplifies API integration in PHP, while we are here let's use a library designed by Alpha to communicate with Sarufi Ai
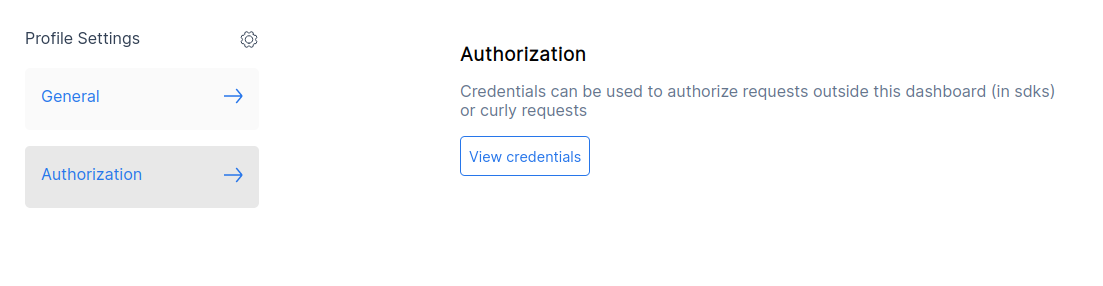
The few things you need to get going are your chatbot id, and your secret key from the sarufi platform which you can get under profile—>Authorization—>Click on View Credential
Now you have all you need, let's travel together to the ream of talking to machines our way. Create a Chat class and add all necessary classes to easily allow you to script all resources to accomplish all tasks you will give it. Check the image below
<?php

namespace App\Controllers;

use CodeIgniter\Controller;
use Config\Sarufi as Sarufi;

// use sarifi library
use Alphaolomi\Sarufi\Sarufi as AlphaSarufi;
use CodeIgniter\API\ResponseTrait;
use GuzzleHttp\Client;

class Chat extends Controller
{
    use ResponseTrait;

     // some variables
    public $gClient;
    protected $request;
    protected $responce;

    function __construct()
    {
        $this->request = \Config\Services::request();
    }


    public function index()
    {

            return view('chat_view');

    }

    public function chatWithBot() {

        // calling Guzzlehttp
        $this->gClient = new Client();

        $query = (String) json_decode(file_get_contents("php://input"));

        $userQuery = empty($query) ? "Hi " : $query ;

        $sarufi = new AlphaSarufi(Sarufi::$apiKey);
        $response = $sarufi->chat(Sarufi::$botId,'123',$userQuery,'text','general');

        return $this->respond($response);
    }
}
With the above code coupled with the routes file from Configs
<?php

namespace Config;

// Create a new instance of our RouteCollection class.
$routes = Services::routes();

/*
 * --------------------------------------------------------------------
 * Router Setup
 * --------------------------------------------------------------------
 */
$routes->setDefaultNamespace('App\Controllers');
$routes->setDefaultController('Chat');
$routes->setDefaultMethod('index');
$routes->setTranslateURIDashes(false);
$routes->set404Override();
// The Auto Routing (Legacy) is very dangerous. It is easy to create vulnerable apps
// where controller filters or CSRF protection are bypassed.
// If you don't want to define all routes, please use the Auto Routing (Improved).
// Set `$autoRoutesImproved` to true in `app/Config/Feature.php` and set the following to true.
// $routes->setAutoRoute(false);

/*
 * --------------------------------------------------------------------
 * Route Definitions
 * --------------------------------------------------------------------
 */

// We get a performance increase by specifying the default
// route since we don't have to scan directories.
$routes->get('/', 'Chat::index');

// for our Sarufi API
$routes->post('/chat','Chat::chatWithBot');

/*
 * --------------------------------------------------------------------
 * Additional Routing
 * --------------------------------------------------------------------
 *
 * There will often be times that you need additional routing and you
 * need it to be able to override any defaults in this file. Environment
 * based routes is one such time. require() additional route files here
 * to make that happen.
 *
 * You will have access to the $routes object within that file without
 * needing to reload it.
 */
if (is_file(APPPATH . 'Config/' . ENVIRONMENT . '/Routes.php')) {
    require APPPATH . 'Config/' . ENVIRONMENT . '/Routes.php';
}
After setting up your routes pointing to functions that handle chat, then it's time for testing, here we run the spark command to start our server
php spark serve Go to your browser and navigate to http://localhost:8080/ to see the results
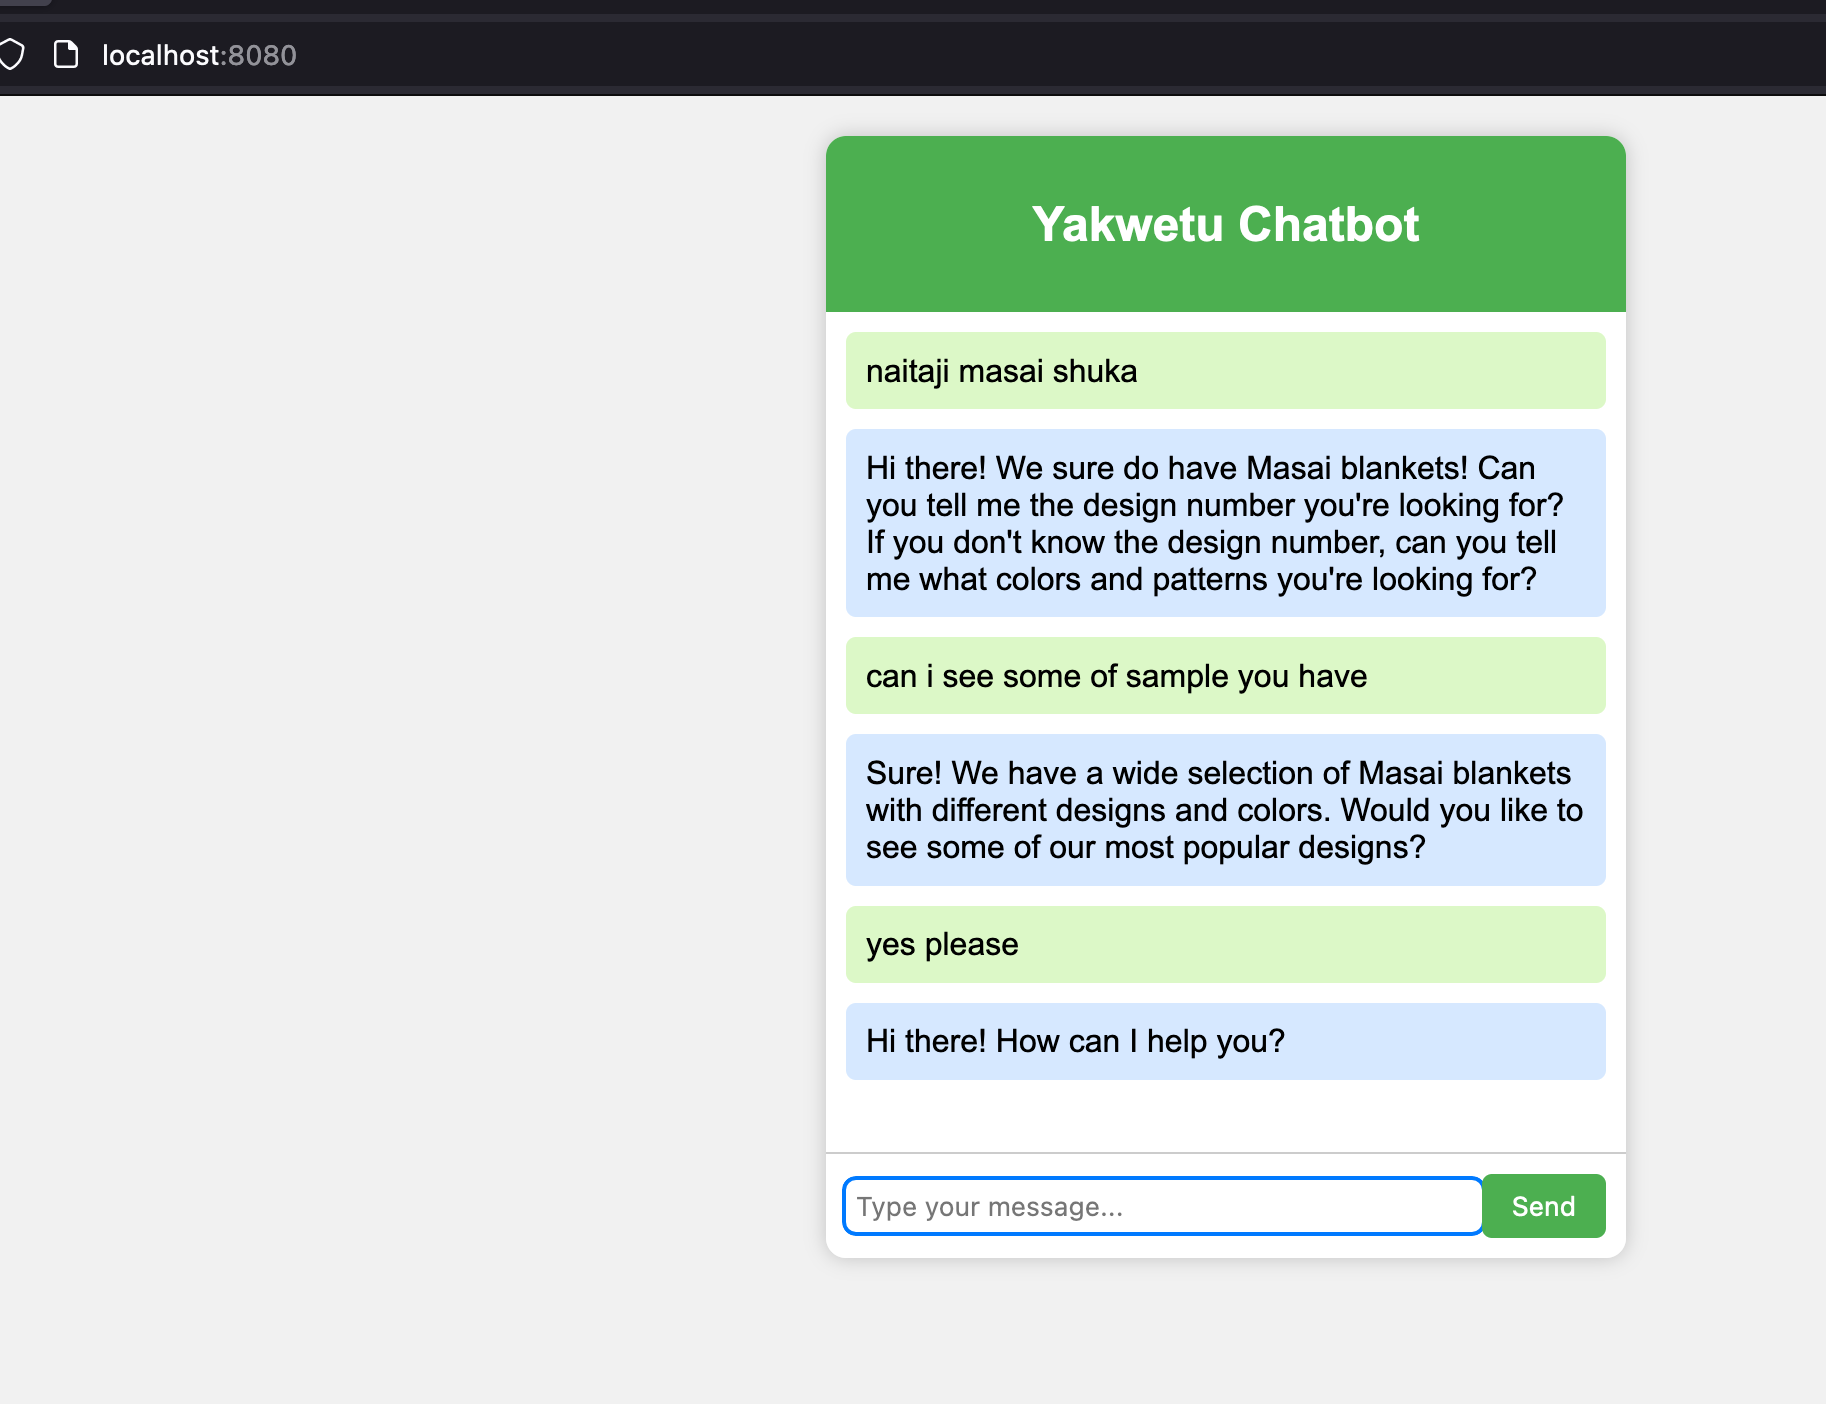
These results are from a chatbot trained with minimum data to answer basically one question and still, find different ways to give the same answer, very cool how AI works. To find all this code go to my git repo
Let's continue discussing this on Twitter EmmaSenzota, for now Bye till next time.