How To Create A Personalized Resume Bot With Sarufi


Hello amigos! This short tutorial will teach you how to create your own personalized resume bot with Sarufi. It will allow anyone interested to ask anything about you. And the best part? You can integrate it anywhere! Be it your Portfolio Website, Whatsapp, Messenger, Telegram - you name it. Excited?! Let's get started 🥳
In this tutorial we will create a Telegram Resume Bot using Python, but like I said you can integrate it ANYWHERE using any programming language.
First Things First
You'll need the following to follow a long:
- A Bot and API Key from Sarufi.
- A Bot and API Keys from Telegram.
Getting Your API Key From Sarufi
- Log in to your Sarufi account
- Go to your profile settings
- Scroll down to Authorization section
- Here you'll find your API key
Creating A Bot In Sarufi
Here we will create a knowledge based bot from Sarufi. Selecting this option will allow you to upload your Resume in PDF format. Just make sure that the file is less than 6MBs. You can watch this two minute video on how to create your Sarufi bot or you could follow along with the steps below:
- Go to dashboard then 'Create New Bot'
- Here you'll be presented with two options;
- Create from scratch
- Create from knowledge base
- Select the option to create from knowledge base.
- Fill in the bot's name, description and industry.
- You'll then be presented with the option to upload a PDF or Word document. This is where you'll upload your resume. You can upload up to five documents but since we are making a Resume bot, one document should suffice. Remember that the resume must have a file size less than 6MB.
- You can also fill the
Custom Prompts,Max TokensandTemperaturefields as shown below:

- Finally get your Sarufi Bot ID through the bot settings menu on the top right corner (see screenshot above).
Getting API Keys from Telegram
You can view this short video or follow the steps below:
- Log in with your Telegram account at https://my.telegram.org/
- Go to API Development Tools and fill out the form
- You will get your API ID and API Hash
Creating A Telegram Bot
To create a new Telegram bot, simply message @BotFather on telegram with the command /newbot. You will be prompted to fill in the bot's name and username. Fill these out and you will be provided with a token as shown below:

Saving Credentials
Save all these credentials as a Python dictionary in a file called keys.py as shown below:
keys = {
    "SARUFI_API_KEY": "your-api-key",
    "SARUFI_BOT_ID": "your-sarufi-bot-id",
    "TELEGRAM_API_ID": "your-telegram-api-id",
    "TELEGRAM_API_HASH": "your-telegram-api-hash",
    "TELEGRAM_BOT_TOKEN": "your-telegram-bot-token"
}
Let's Get Coding
Jipige kifua if you've made it this far. Now the fun part begins. Since we're using Python we will install the Python Sarufi SDK and a Python-Telegram library called Pyrogram. There are many Python-Telegram libraries out there but I chose this because it is simple. Install the two libraries as follows:
pip3 install sarufi
pip3 install pyrogram tgcrypto
Now create a main.py file in the same directory as our keys.py file and write the following code. We will first create a simple echo bot to see if our Telegram bot works:
from pyrogram import Client

from keys import keys

app = Client(
    name="myResumeBot",
    api_id=keys["TELEGRAM_API_ID"],
    api_hash=keys["TELEGRAM_API_HASH"],
    bot_token=keys["TELEGRAM_BOT_TOKEN"]
)


@app.on_message()
async def echo(client, message):
    await message.reply(message.text)

app.run()
A little explanation of what we're doing:
- We're importing pyrogram and our credentials we saved in the
keys.pyfile - We then create a pyrogram client and fill in the credentials
- Finally we create a function called
echothat simply replies with the same message we send it
Run the following command to test our Telegram bot:
python main.py
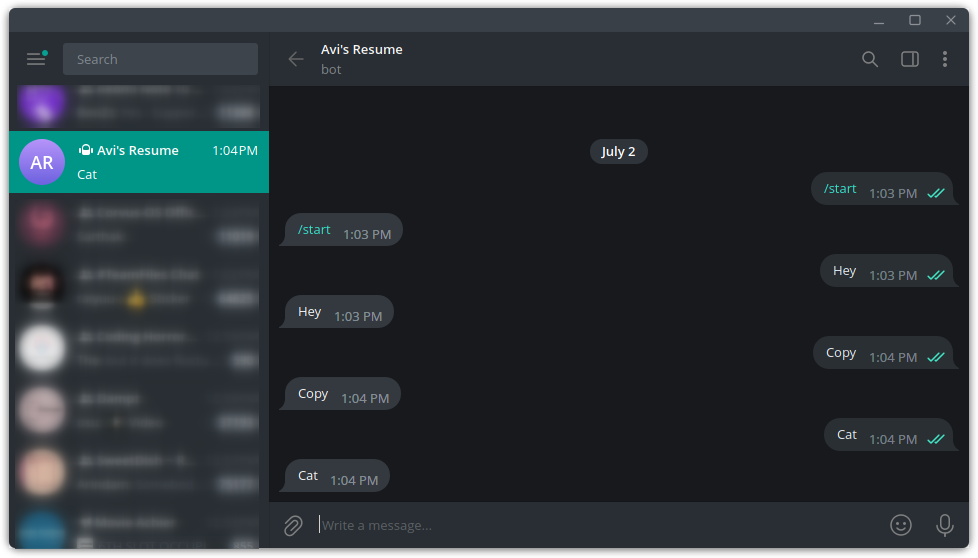
And let's message our bot. If everything is well, the bot should respond as shown in the screenshot below:
Once you're satisfied, stop the bot with CTRL+C.
Integrating Sarufi
Since our Telegram bot is working fine, let's now add our intelligent Sarufi AI bot that can respond to questions about our resume. Open the main.py file and modify the code as follows:
from pyrogram import Client
from sarufi import Sarufi

from keys import keys

sarufi = Sarufi(api_key=keys["SARUFI_API_KEY"]) # Create a Sarufi client
sarufi_bot = sarufi.get_bot(id=keys["SARUFI_BOT_ID"]) # Get our bot

app = Client(
    name="myResumeBot",
    api_id=keys["TELEGRAM_API_ID"],
    api_hash=keys["TELEGRAM_API_HASH"],
    bot_token=keys["TELEGRAM_BOT_TOKEN"]
)


@app.on_message()
async def reply(client, message):
    response = sarufi_bot.respond(message.text) # Send the received telegram message as a question
    await message.reply(response) # Then reply with our Sarufi bot's response

app.run()
This is what we've added in our code:
- We've imported the
sarufipython SDK - We've created an instance of a Sarufi client
- We then select our bot using our bot's ID
- We then send the telegram message to our Sarufi bot and reply with the response we received
Run the bot again with python3 main.py and message your bot. You should see something like this:
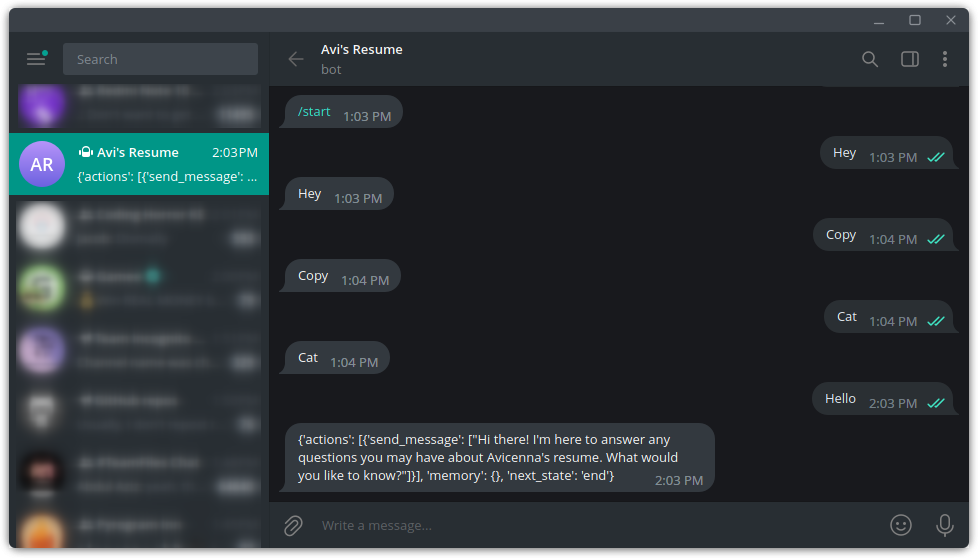
Notice that we have some information in our response that we really don't need, let's fix it:
@app.on_message()
async def reply(client, message):
    response = sarufi_bot.respond(message.text)['actions'][0]['send_message'][0]
    await message.reply(response)
What we're doing here is just selecting the message part. Now admittedly its not the cleanest implementation but hey, it works 🤷.
Now run our python script again and let's see the response:
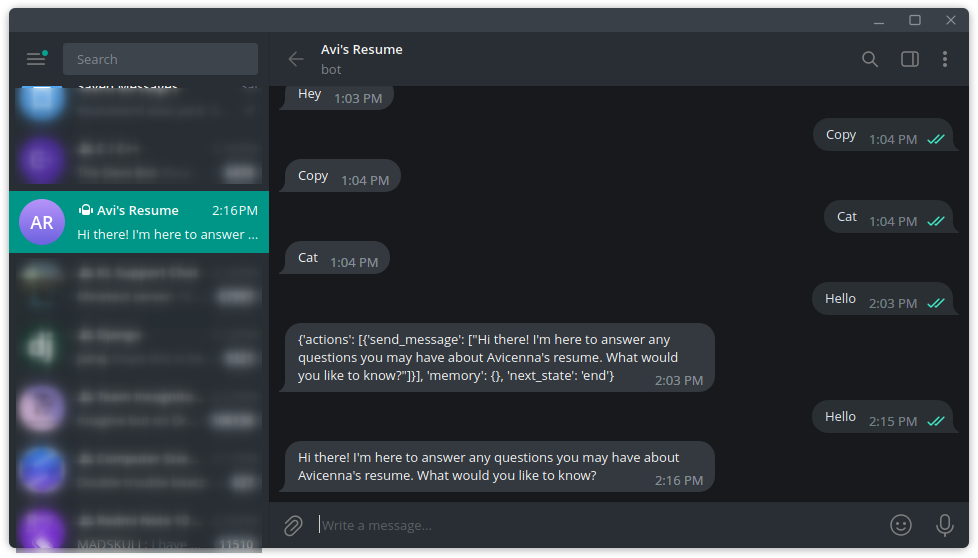
And voila! Our bot responds as expected. Let's keep asking it questions:
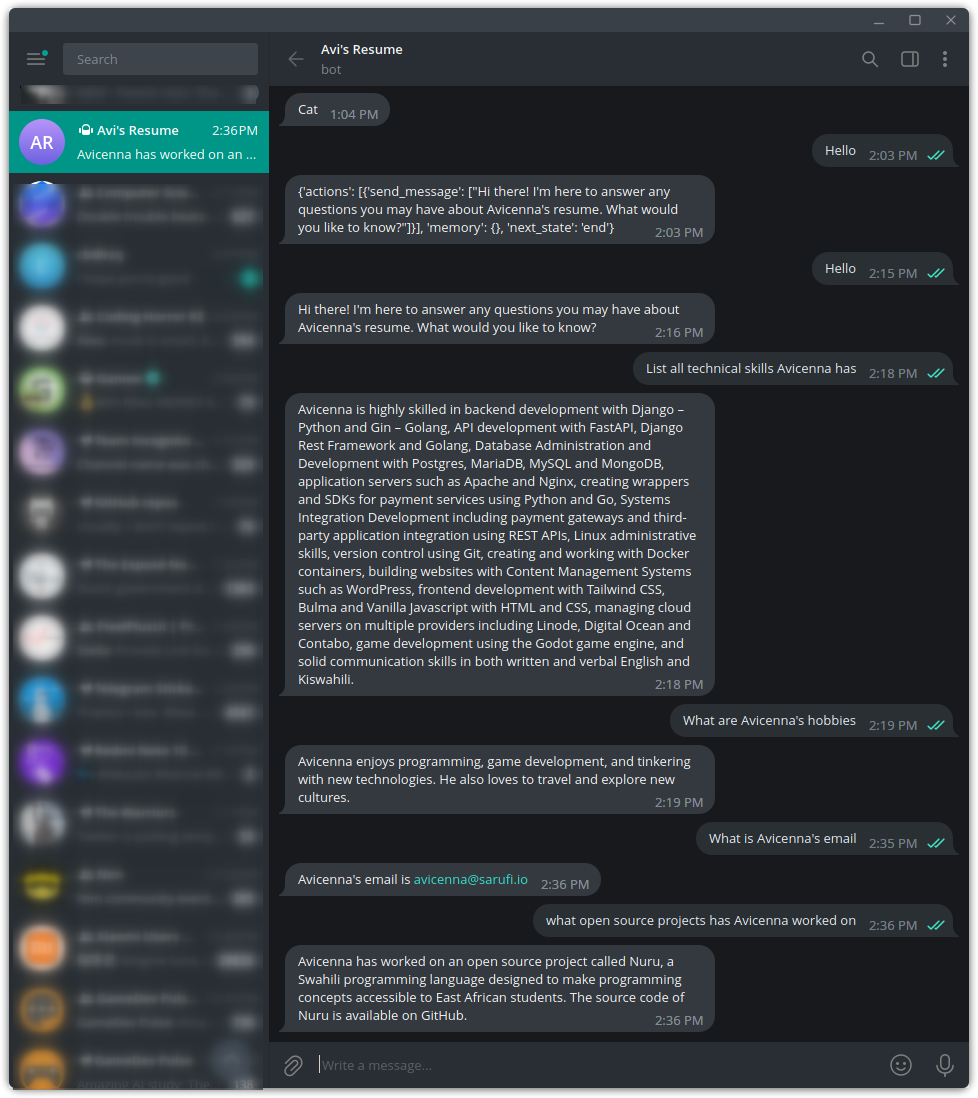
And just like that you have your own personolized bot that can respond to all questions regarding your resume. You can find the full code here and feel free to reach out if you have any questions.